I've Moved!

I've Moved!
Please visit my new blog!

This blog contains affiliate links!

Some of the links in the posts on this blog are “affiliate links.” This means if you click on the link and purchase the item, I will receive an affiliate commission (Thank you!) Regardless, I only recommend products or services I believe will add value to my readers.
Email me ..........................

Wednesday, February 11, 2009

Some Favorite Pages

I thought I’d share some of my favorite pages – I added them to my idea sharing site & wanted to post them here, too.

I just love these pages – they’re when Jamie first found his toes!

another layout featuring my youngest of 2 boys, Jamie.

Here’s Richie, my oldest, about 3 years ago.

This was my first attempt at doodling. I love the way the CM precious Elements pens show up on the page – it looks much better in person.

I hope these inspire you – would love to see some of your layouts!

Thursday, January 29, 2009

Free Digital Stuff!

Have you watched the Digital Done in Four Webinars? These sessions are available live and pre-recorded - plenty of options there. I am so impressed with these webinars - they are filled with great information - for the beginner or those that have been digi scrapping for a while. They are a great learning tool!


Here are just a few examples of what you'll learn to do in these Webinars:


Before Picture - not too bad but there is a lot of stuff in the background that distracts your eye.


After editing in Memory Manager:


I have cropped the photo, fixed the glowing eyes, lightened the picture, removed the dartboard, the light overhead and the register in the celing. Also little bits of hair that were sticking up on Jamies head are now gone! I'm working on learning how to take a few pounds off my picture ;)


Here's a picture that I removed the color from the background so my little elf would stand out:


Still not convinced to watch the webinars? How about if I bribe you - I'm not above it. Memory Manager and Storybook Creator Plus are fantastic programs & I like to give away free stuff anyways ;)

After you have listened to the 4 webinars and have ordered your storybook - email me & I'll send you a link to download a Family Quick Kit package that can be used with SBC+. You have 4 choices:

  • Family Quick Kit Digital Kit -individual papers & embellishments

  • Family Quick Kit Pre-Designed 8 x 8 Pages
  • Family Quick Kit Pre-Designed 11 x 8 ½ Pages

  • Family Quick Kit Pre-Designed 12 x 12 Pages


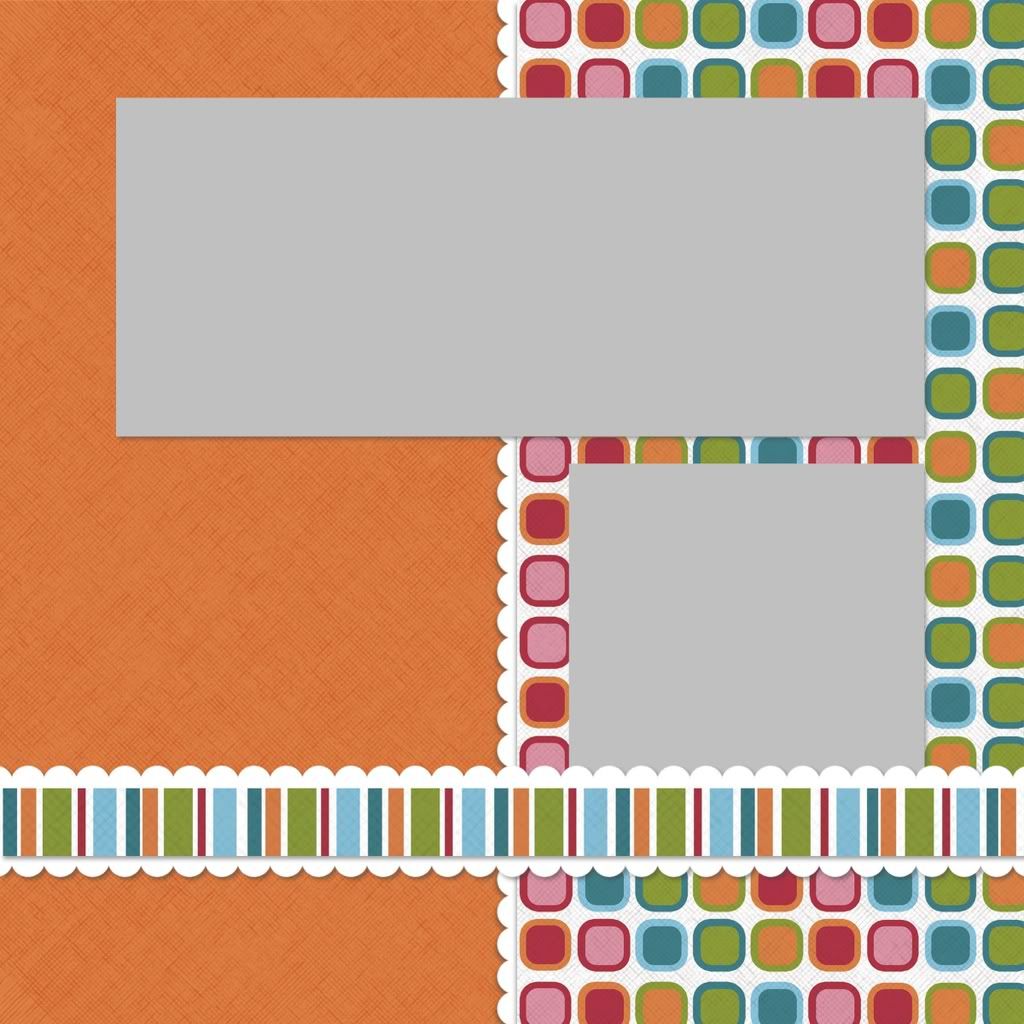
I have used the traditional version of the Family Quick Kit to make an album that contains some of my favorite pictures & it is one of my favorite albums! The artwork in this kit is fun & bright - really nice to work with. Here are a couple examples of the 8x8 digital pre-designed pages:


Just waiting for your photos!


Email me @ Lisa.Graham@sbcglobal.net

Tuesday, January 27, 2009

My new love – digi scrapping!

Digital Scrapbooking – I have been dabbling a bit with this new method of memory keeping and am so happy with the results. I use CM’s Storybook Creator Plus (SB+) to make my digital stuff & LOVE it! It is easy to use and I am thrilled that CM offers both digital and traditional versions of its papers and embellishments. This came in very handy when I was doing an album of our HS class reunions. I had some printed photos but wanted to do some digital pages – I was glad I could use both digital and traditional papers & elements that matched. Here’s an example of a page I did digitally, using the digital version of the Everyday Power Pallette (which comes with SB+ along with the digi Gazebo PP):


The page that sits right next to the one above in my album I did with real paper & stickers from the traditional Everyday Power Pallette:


DigiScrapping has simplified my life! (at least a small part of gift giving is easier)


Each year I make PicFolio Calendars for Christmas gifts – I started out making 5 of these by hand – they were gifts for the In-Laws, my Mom, Great Grandmothers & Rich. I used a PicFolio Minutes album and made a calendar page for each month along with a coordinating page for the other side of the album. I would print out the calendars & pictures, trim, matt, use a ton of stickers & paper - ugh! It was quite time consuming, but of course it was a labor of love and I was really glad to see that these albums were very well received! Each year I make calendar refills for the PicFolio albums. This is sooo much easier since I started making these digitally! I only make 3 copies now, as the great grandmothers are no longer with us, but I could just as easily make 5 or 500! I just create them once & order as many prints as I need!


Here’s an example of a couple digitally scrapped PicFolio Calendar inserts for this year:


And here’s a picture of the calendar using the PicFolio album:
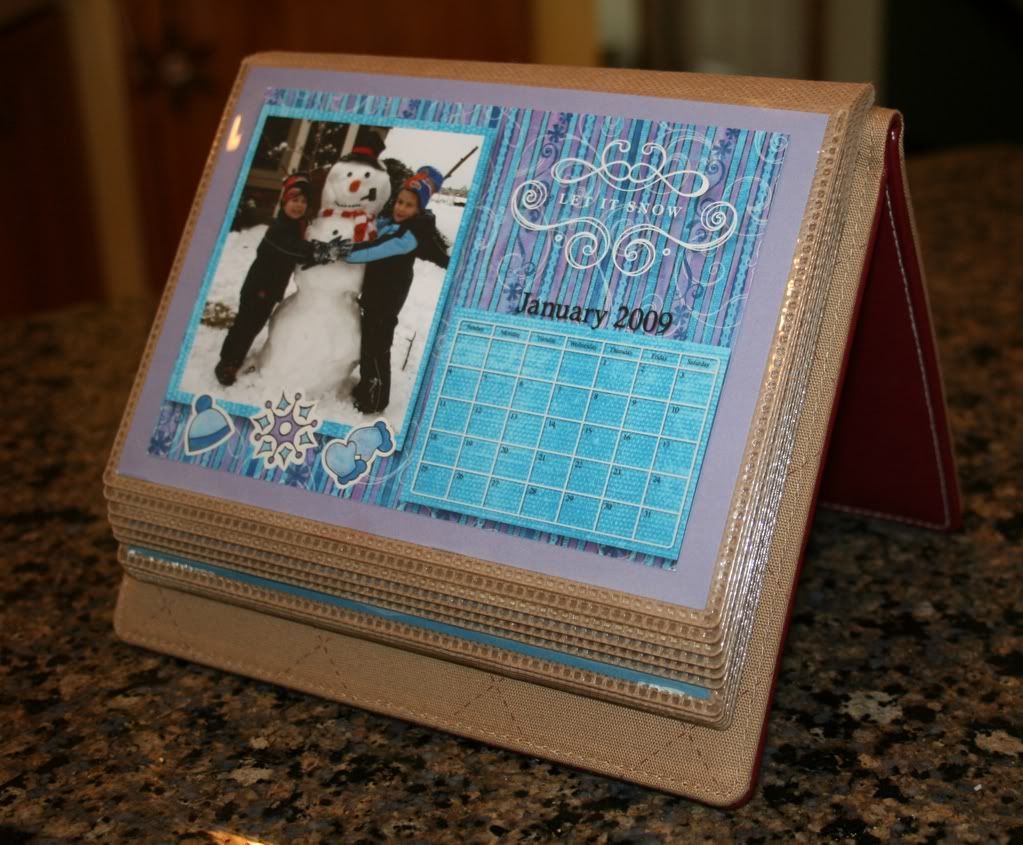


(If you click on the picture it will take you to the complete calendar album)


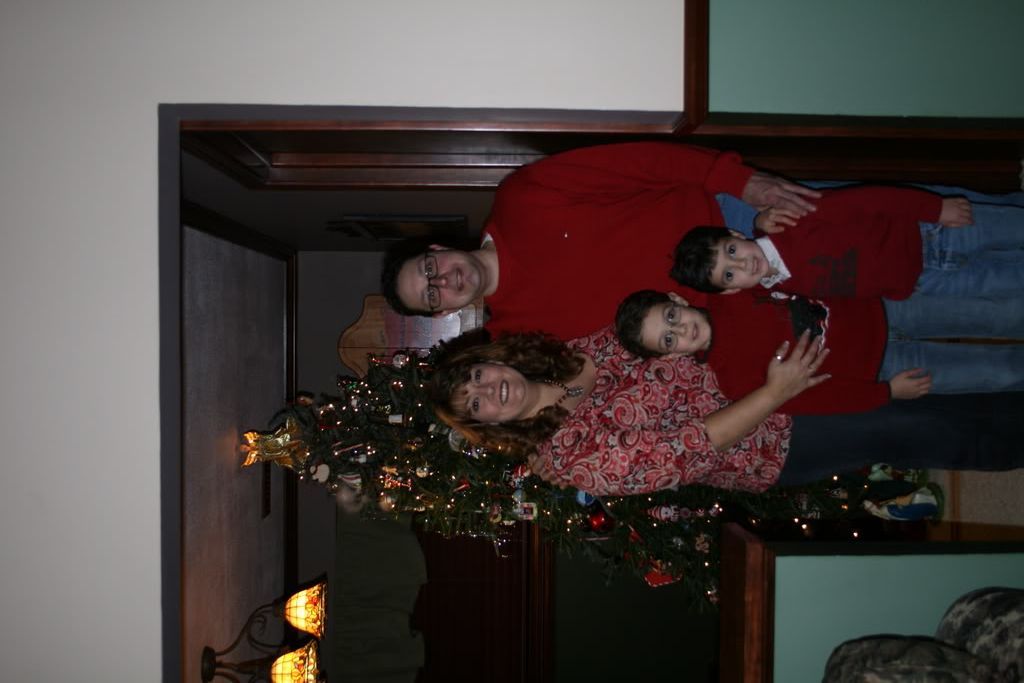
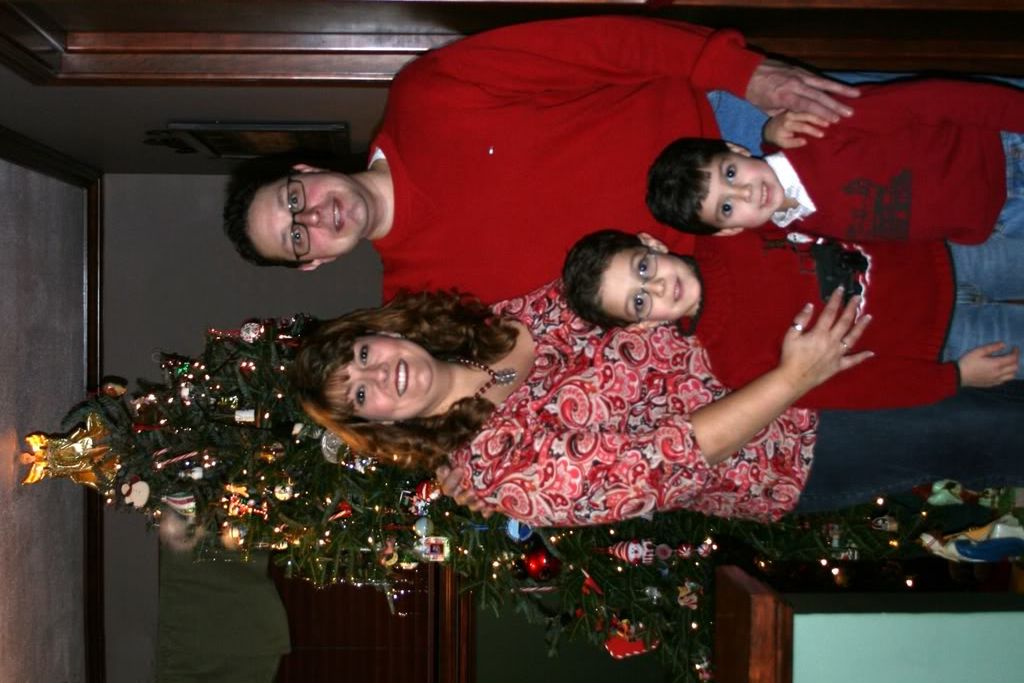
I also use SB+ to create our holiday cards & birthday invites, too! Here’s this years picture I sent out with the Christmas cards:


Which reminds me of what motivated me to post about digi scrapping (better late than never!)


Richie is “Star of the Week” in his 1st grade class. He wanted to bring in some pictures, so we were scrolling through Memory Manager (another post altogether, but another fantastic program!) choosing which pictures he wanted to bring in when he decided he wanted to put some digi scrapped pictures together. Within an hour or so we made 6 photo collages that I printed out at home to share with his class. Here’s my favorite:


and Richie’s favorite:


Nana suggested using the picture of the Pikachu cupcakes as a background!


I have posted more example of items I created using StoryBook Creator Plus on my CM Idea Sharing site under “Digital


Have a great day!

Thursday, January 15, 2009

Digital Done in Four Webinars by CM

Do you have digital photos? Need help organizing them?? Are you curious about digital scrapbooking? I am so excited about this series of live Web classes that CM is offering. These webinars will guide you through the process of organizing your photos and completing your first Storybook project. Even if you do not plan on ordering a Storybook - these great webinars are an easy, free way to learn about digital scrapbooking & organizing.

There are 4 sessions and each session is offered a variety of times & dates. Different CMCs will be doing the training so if you have time, you may want to sit in on more than one webinar - each CMC will offer her own tips & tricks.

Start with the Right Tools
Digital Done-in-Four Webinars will use Memory Manager 2.0 and StoryBook Creator Plus software. For a sneak peek of what you’ll be learning, check out the short video, It’s a Digital Life.

These Webinars have been recorded! Click here to listen to them at your convenience.

Let me know if you have any questions!

Monday, December 22, 2008

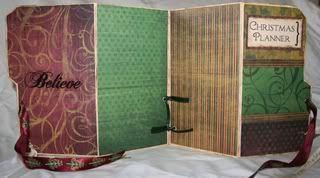
Christmas Planner from a File Folder

 
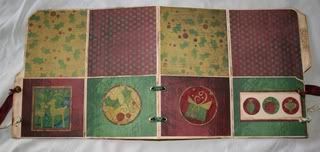
I am so pleased with how this came out - and it was so easy! I started with a regular file folder, added a little paper & embellishments & have this great little planner! I taught a class on how to make these types of planners at the Spring '09 Camp Crop-A-Lot at the Novi Sheraton & they were a huge hit! I think these would be great planners for all sorts of things; Disney Vacation, Menu Planner, Everyday Planner. Lots of possibilities! If you want to make your own - here's how I did it.
 
Open up your folder and measure about 8" from the top. Fold up the bottom along this line - this will create the pockets.
Now, most of you know I'm not an measuring kind of gal. When I make future projects I'll do my best to take more care to record what I'm doing because I know some people like precise measurements when crafting. But for now - just trust me & know that these planners are pretty hard to mess up! So with that in mind - fold in each edge of the planner towards the center. I first fold in the side with out the tab right up to the center fold - then fold over the tabbed edge so it meets up with the edges of the other folds.

I wanted to make the edges look sort of aged so I used a brown CM round tip pen on a q-tip and rubbed all of the edges.

Most of the paper and stickers I used for this planner are from the Creative Memories Starry Night Album Kit. I love how everything coordinates without any thought required! I printed on a piece of cardstock "Christmas Planner" and "Receipts". The "Believe" word sticker on the tab was cut from one in the Everyday Power Pallette. Not sure which retired Power Pallette the "Believe" sticker on the back was from, but there is a similar one in the Jewel Title Stickers


So, measuring each of the areas to be covered I then chose which paper I wanted, trimmed it to fit about 1/4" smaller than the pocket & adhered it with CMs Photo Tape. I freehanded around the curves and other irregular shapes on the folder. Once you've decorated your planner the way you like you can now create the pockets. I also used the Photo Tape for this - just along the two sides. I have had my planner in my purse for over a month - jam packed with lists & coupons, receipts, etc & it has held up amazingly well. I love that photo tape!

Once everything was decorated I used an eyelet tool to punch holes and then added eyelets & ribbon.
I printed off my own lists & papers so that they would match the title on the front of the planner. If you don't want to go to all that trouble you can visit OrganizedChristmas.com where they have TONS of ideas - including pages for these types of planners


To make the receipt envelope I sealed a letter sized envelope, trimmed down one of the edges by an inch or two. I then used the CM Circle Maker to cut a notch in the envelope and paper. I trimmed a bit off the straight edges of the paper on each side of the circle so that it would line up when placed a bit below the edge of the envelope. I also used the Photo Tape to adhere the paper to the envelope.


A fun thing I did was decorate these paper clips to use in the planner. I used the mini Circle Maker to punch out 2 circles, then put Photo Tape on the inside of each circle - sandwiched the paperclip between the sticky circles & pressed together. I would think you could also use the Precision Point Adhesive, too, but I wanted instant gratification :)


Here is a Disney Planner I made using the same method


Papers and stickers used are from the Disney Mickey Power Palette Additions from Creative Memories. 

Don't hesitate to contact me if you have any questions & please let me know if you've tried this project yourself. I'd love to see what you come up with!