Seasons Greetings!
You have reached the fourth stop on the CM Circles and Ovals Blog Hop. My fellow CM Advisors and I are sharing some ideas and inspiration featuring some old friends – the Custom Cutting System (CCS) Circle & Oval patterns!
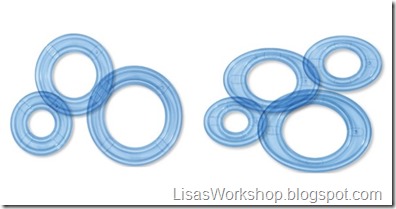
These will be added to the CM core line but there is no telling how long this first shipment will last. Fair warning - if these go quickly there could be a bit of lag time until the next shipment arrives.

Instructions for these CCS cuties are soon to follow but first I’d like to share a system I learned a long time ago in my early years as a CM Consultant.
Labeling Your CCS Circles & Ovals
This method saves a lot of time & effort when following directions for a project. By using this system you can easily know exactly what size oval or circle to cut when following instructions at a class, workshop or online. It also makes sharing instructions a breeze!
Here is how to label your templates:
Using a permanent marker, label the sizing chart and patterns 1 through 7 using the following system:
Circles (1-3) - 1 is the smallest circle, 3 is the largest
Ovals (4-7) - 4 is the smallest oval, 7 is the largest

While you’re at it – you might want to label your patterns & cutting guides with your initials, too. Lots of people have the same tools & labeling them with your name or initials makes it a snap to see what is yours when cleaning up at a crop.

The following abbreviations are used in projects:
I = Inside Track O = Outside Track
R =Red Blade G = Green Blade B = Blue Blade
If a layout calls for the following: 1 I R (2) then you would use the smallest circle pattern (#1), cut on the Inside of the pattern with the Red blade and cut 2 circles.
Let’s give it a whirl!
Gingerbread Boy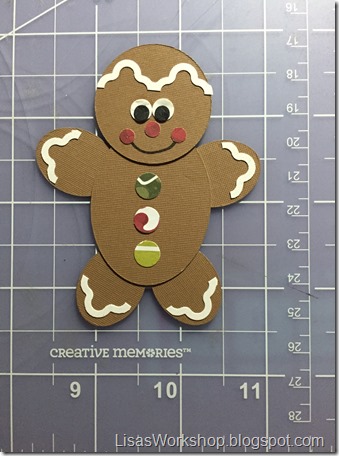
Using the dark brown Designer Cardstock from the Shades of Neutral paper pack cut the following shapes using the Custom Cutting System:
Head: 1IR
Body: 5IR
Arms: 4IG(4)
Buttons, Eyes, Nose & Cheeks: leftover circles from the Border Maker System and the Bubbles Cartridge using the following papers:
Christmas Joy paper pack
Red striped paper for the nose and cheeks
Christmas Countdown Days for the buttons
Black & white Designer Cardstock from the Shades of Neutral paper pack for the eyes.
Icing: Punch several short borders using the Medallion Frame Chain Cartridge and the Border Maker System. Cut chains lengthwise in half and then trim pieces as shown.
Adhere everything with your Regular & Mini Tape Runners.
Gingerbread Girl
Use the same method we did to make the Gingerbread boy but punch only one button and add the following:
Dress: 5IR - cut from the red striped paper from the Christmas Joy pack. Cut a small notch from one shorter end of the oval and trim the opposite end.
Punch one shape using the Blossom Place n Punch and trim as shown.

Flower: From the red striped paper use one leftover shape punched using the Medallion Frame Chain Cartridge and the Border Maker System. 
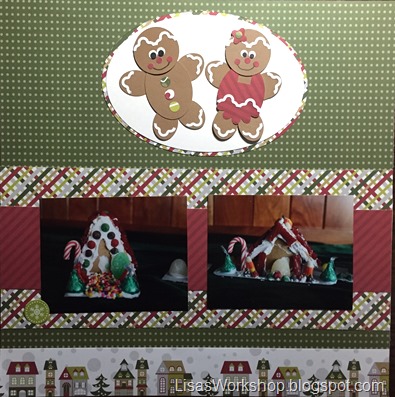
I like to showcase a special photo by using the CCS to cut it into a circle or oval shape – matting it for even more emphasis. 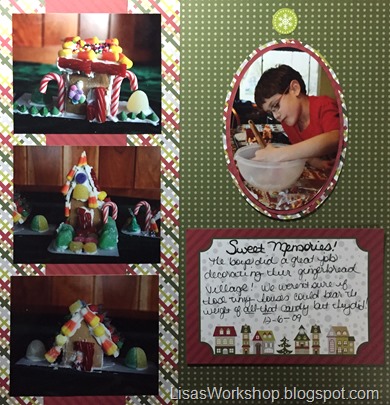
Thank you for stopping by! Be sure to visit all of the fantastic blogs for more ideas!! Your next stop is Celebrating Your Beautiful Life by Fran Smitherman.
Here’s a complete list of all the stops on this CM Blog Hop in case you lose your way:
Stop 1 - Julie Tambrini
Stop 2 - Diana Brinsley
Stop 3 - Stefani Jones
Stop 4 - Lisa Graham <=== You Are Here
Stop 5 - Fran Smitherman
Stop 6 - Noreen Smith
Stop 7 - Candace Bouldin

After you’ve visited all the Blog Hop stops head on over to the CM blog! CM is giving away a CCS bundle - including the hexagon bundle (with the jumbo hexagon CCS template, all 3 blades and the self-healing mat) plus the circles and ovals! Leave a comment after the blog hop post on the CM blog for a chance to win this fantastic prize pack!!

- Cut out 6 rings. In the example above I cut 2 sets of rings from 3 different papers.
- Determine what size and shape rings you want. The wreath above was created by cutting 5OG & 5OR..
- If cutting on the outside track of the pattern cut the larger shape first, then the smaller one. Do the opposite when cutting on the inside of the pattern (cut smaller shape first).
- Be careful not to move your paper or the CCS pattern until you are completely done.
- Layer the rings and adhere stickers or other embellishments.
- To make the wreath shown above I used items from the Christmas Joy Paper and Sticker packs.
Inspired by an idea borrowed from Donna Bobbie, R.I.P.