I've Moved!

I've Moved!
Please visit my new blog!

This blog contains affiliate links!

Some of the links in the posts on this blog are “affiliate links.” This means if you click on the link and purchase the item, I will receive an affiliate commission (Thank you!) Regardless, I only recommend products or services I believe will add value to my readers.
Email me ..........................

Friday, January 31, 2014

Scrapbooking the Polar Vortex

What a crazy winter it’s been & it’s not even February yet!  Living in Michigan I have no shortage of snow photos to scrapbook & always look forward to taking more.  Those of you that aren’t used to getting snow might be a little out of your element (no pun intended) when it comes to ideas & products for your layouts featuring winter weather pictures.  Weather you’re a veteran of snowstorms or only get to enjoy them once in a great while here are some ideas to help you with your snow related photos.

(Click on images to view larger)

Winter Page Ideas

Super easy border using circles to create a birds eye of a snowman

   snowman looking up 

Here’s a digital version  of the guy above – you should be able to right click on it and save it to your computer and use it on your digital pages

Snowman

Winter fun at Scrapbook.com

Need to purchase some winter themed products for your pages? 

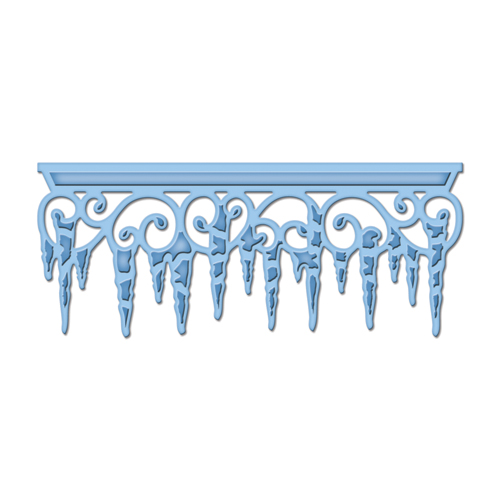
I’ve recently purchased a Cuttlebug mostly for embossing but I’m becoming quite addicted to Spellbinders & other dies that cut & emboss at the same time. Here are a few I have my eye on:

(clicking on product pictures & descriptions will take you to Scrapbook.com via my affiliate links)

Spellbinders - Shapeabilities Collection - Die Cutting and Embossing Templates - Snowflake Pendant

2013 Snowflake Pendant

Mr. & Mrs. Snowman

Icicles

http://cdn.scrapbook.com/products/source/SBC_pp-srs2058.gif

To learn more about using Spellbinders in various die cutting machines you can watch this video. 

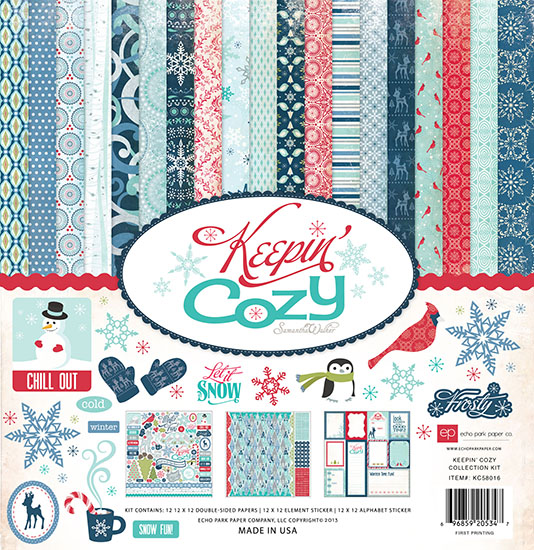
I love product collections because with they help a page come together very easily. The work of coordinating paper & embellishments are already done for you!

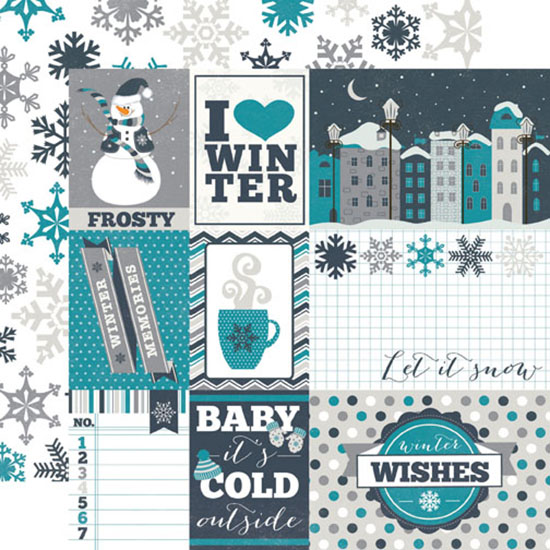
Echo Park – Keepin’ Cozy Collection

Echo Park – Let it Snow Collection

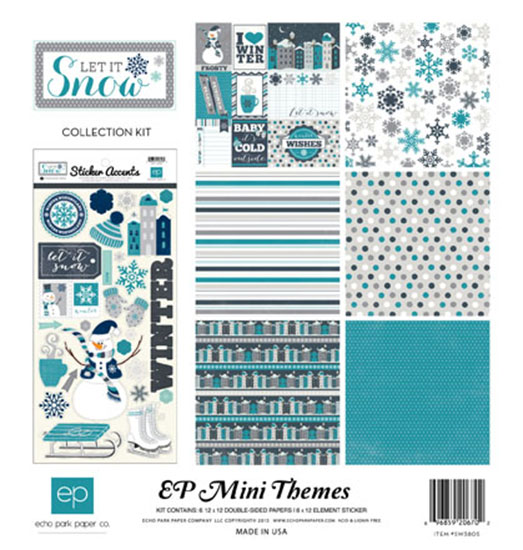
You can also purchase most of the items in the collections separately, like these papers: 

12x12 Echo Park Let it Snow 12x12 double sided paper – journaling

Another fun things about these Echo Park products is that you can purchase coordinating designs in the Silhouette store to cut with your electronic die cutting machine. 

Here are just a few (design number listed at the bottom so you can find them.)

image        image   imageimage         image 

Haven’t been able to find any “Polar Vortex” related items so I created this title.  You can download the svg file here. (Free of charge)

image

Tips for taking snow pictures

Get up close!  By doing this you will reduce the amount of white background in your photo allowing your camera to get a better picture.

img_8694

Center your picture on a dark object – when you push the shutter button down halfway your camera will adjust using that spot and you will get better results than if it was centered on bright snow.

img_0842

Have people face the sun when taking their photo – that way they won’t be too dark because of shadows

Sometimes using your flash can  help brighten up your subject when they’re surrounded by all that bright white snow.  Using the flash will fill in darker areas, balancing the light of the snow.

A burst of color against a white background can make for a spectacular photo.  Bright clothing, trees, buildings can all make for beautiful subjects against a snowy background.

IMG_0719

Beyond snowmen & snowball fights, some ideas for winter photos:

Close-ups of snow covered plants & trees, pinecones, berries on branches. 

Furry & feathered friends - it’s hard to beat a photo of a red cardinal against a snowy background! 

IMG_7092

The contrast in textures, patterns & colors with winter photos can be a fun opportunity for some unusual photos.

IMG_1072

Stay warm & have fun!

Thursday, January 30, 2014

Spring Break Weekend Scrapbooking Retreat

I don’t know about you but with all this snow (so much snow!) I’m ready for a getaway! 

Unfortunately, spring break trips with the girls are a thing of the past for many of us but it doesn’t have to be that way!  I’m inviting you to Spring Break at the Novi, MI Sheraton!  Mark your calendars:  March 14 – 16 we will be scrapbooking, laughing and enjoying the wonderful accommodations at the Sheraton.  Michigan in March will probably not have too much sun but there will be plenty of fun!  Our weekend retreats are filled with lots of uninterrupted time & space.  This weekend is somewhat laid back  - we will not keep interrupting you with games and announcements but we will have events you can participate in if you want to.  We strive to be a drama free event!  If this sounds like something you’d enjoy please feel free to share the flyer below – we have plenty of space & it’s more fun cropping with friends! 

Spring Break Retreat

Our weekends at the Novi, Sheraton are set up a little differently than most crops.  We have one larger cropping room and we also take over the whole 2nd floor of conference rooms  which hold anywhere from 5 – 30 croppers, depending on the room and space desired by croppers (extra space is an option for our guests.)

We have wonderful food during our retreat.  Here are a few favorites: 

Top:  Roasted veggies with Sunday lunch.

Below:  Chocolate mousse with Saturday lunch.

2010 12x12 pages - Page 002

The beds at the Sheraton are comfy & cozy!!

Retreat Pages - Page 001

This is not how the room is set up for our weekends but it will give you an idea of the space in the conference rooms on the 2nd floor:

http://sheratonnovi.files.wordpress.com/2013/10/img_0283.jpg

Visit our blog at  http://www.cropalot.blogspot.com/ to see past menus and more photos about our weekend retreats.

New for this weekend is the addition of vendors.  Providing in-house shopping opportunities for our guests is one more way we hope to make our weekend enjoyable for our guests!  If you’re interested in participating as a vendor please see below for more information!

Vendor Information

Hope to see you at the Sheraton! 

Saturday, January 4, 2014

Cardstock

I loved CMs cardstock – it was smooth, a nice weight.  It cut beautifully in punches and electronic die cutting machines.  Solid color throughout – I could go on & on Winking smile 

As my CM cardstock stash dwindles I’m going to be replenishing it with cardstock from Hobby Lobby - the cardstock you can purchase in store by the sheet.  I bought a pack of black cardstock by the Paper Studio at Hobby Lobby and it was very thin and left lots of fibers behind on my Silhouette mat.  That isn’t the case with the type sold by the sheet –it’s very, very close to CM, in fact I have a hard time telling them apart.  I’ve even started storing the Hobby Lobby cardstock with my CM cardstock.  That’s a big step for this former CM purist. SmileThe Hobby Lobby cardstock is smooth, dyed throughout (no white core) and a very decent weight.  Except for colors, side by side I can’t tell the difference between CM & HL cardstock.

Here are some photos of cardstock I bought at Hobby Lobby compared to CM cardstock (used to cut out the labeled tags.)

Sorry for the fuzzy pictures – these are just a few of the colors Hobby Lobby sells  - to give you an idea of how they compare to CM.  CM Colors are the labeled tags – Hobby Lobby colors are underneath those.

photo 1

photo 2photo 3

And while we’re on the subject of cardstock I thought I’d pass along how I store my paper scraps.  I love the look of keeping everything neat & tidy in drawers but that system doesn’t work for me.  I really need to have things close at hand and vertical storage works for me.  Part of the challenge I find with organizing scrap stuff – anything, really – is to figure out what works best for you. 

This is a cart from an office store – it’s not 12x12.  If I had to do it all over again I’d go with this 12x12 file cart by Cropper Hopper or something similar.  Even though they’re scraps I sometimes have bigger sized pieces and, as you can see, they peek over the top of the smaller folders. 

I save my scraps, cutting off jagged edges so they fit nice(ish) in the folders.

photo 4

I have adhered an old 12” long sticker envelope  to the back of each folder using CMs Photo Tape.  That stuff is strong!  Don’t worry if you don’t have any more CM Photo Tape - 3Ls Crafty Power Tape is a good alternative.  They’re made by the same company, too!

photo 5

In this clear envelope I put my smaller scraps.  Without it they fall to the bottom and they’re hard to get to – and also the bottom of the folders become very full making it a really tight fit.

Do you have a favorite brand of cardstock?  I’d love to hear about it!